4. Functions and Image Processing
Quick Overview of Day
Use nested loops to practice simple image processing.
CS20-CP1 Apply various problem-solving strategies to solve programming problems throughout Computer Science 20.
CS20-FP1 Utilize different data types, including integer, floating point, Boolean and string, to solve programming problems.
CS20-FP2 Investigate how control structures affect program flow.
CS20-FP3 Construct and utilize functions to create reusable pieces of code.
4.1. Image Conversion with Functions
In a previous lesson, we used code similar to the following, which increases the amount of green in an image:
When we were learning how to draw with the turtle module, we took code that allowed us to draw a square, and converted it into a function. In a similar fashion, we can convert our image manipulation code into a function, and call it whenever we would like to manipulate some image. In the code shown below, I have created a function that takes in an image and a number representing the amount to add to the green colour channel, then increases the amount of green for each pixel, and finally returns the changed image.
Notice that in the function, an EmptyImage of the same size as the original image was created. We then iterate through every pixel in the original image, extract the RGB values from each pixel, increase the amount in the green channel, then set the corresponding pixel in the new image (the one that began as an EmptyImage). Because this is a fruitful function (which returns a image object), we can set the result to a variable, which is called converted_img below.
Note
If you’d like the function to animate while it runs, you can rewrite the function to have a parameter for the ImageWin to draw to, as follows:
4.2. Controlling Image Manipulation with Micro:bit
Now that we can organize our image manipulation code using functions, it makes it simple to call these image manipulation functions when a specific event occurs. For example, we might want to call the increase_green function when the A button on the Micro:bit is pressed. To make things more interesting, we will first get the accelerometer value on the x axis (to determine how much the Micro:bit is tilted to the left or right), and use the resulting value as the amount_of_green_to_add argument we pass to the increase_green function. Since the accelerometer value will be negative when the Micro:bit is tilted to the left, if we press the A button while tilting to the left, we will remove green from the image. If the Micro:bit is tilted to the right, the accelerometer value will be positive, so we will add green to the image.
Rather than have the second button sit idle, we will execute a different image manipulation function when the B button is pressed. For this example, I chose to take the negative of the image when the B button is pressed.
Finally, it would be nice to have a way to end the program when we are done playing with images. To accomplish this, I created a still_playing variable and set it to True. When you flip the Micro:bit over (so the LEDs are facing the ground), the z axis becomes positive, and we change the still_playing variable to be False. This causes the loop to exit, ending our program.
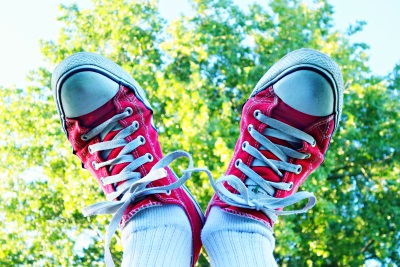
Before running the following program in Thonny, be sure to save this image in the same folder as your Python code:

import image
import microbit

def increase_green(original_image, amount_of_green_to_add):
    width = original_image.get_width()
    height = original_image.get_height()
    new_image = image.EmptyImage(width, height)

    for row in range(height):
        for col in range(width):
            p = original_image.get_pixel(col, row)

            new_red = p.get_red()
            new_green = p.get_green() + amount_of_green_to_add
            new_blue = p.get_blue()

            new_pixel = image.Pixel(new_red, new_green, new_blue)

            new_image.set_pixel(col, row, new_pixel)
    return new_image

def negative(original_image):
    width = original_image.get_width()
    height = original_image.get_height()
    new_image = image.EmptyImage(width, height)

    for row in range(height):
        for col in range(width):
            p = original_image.get_pixel(col, row)

            new_red = 255 - p.get_red()
            new_green = 255 - p.get_green()
            new_blue = 255 - p.get_blue()

            new_pixel = image.Pixel(new_red, new_green, new_blue)

            new_image.set_pixel(col, row, new_pixel)
    return new_image


img_file = "sneakers.jpg"
img = image.Image(img_file)
win = image.ImageWin(img.get_width(), img.get_height())
img.draw(win)


still_playing = True

while still_playing:
    if microbit.button_a.was_pressed():
        x_tilt = microbit.accelerometer.get_x()
        converted_img = increase_green(img, x_tilt)
        converted_img.draw(win)

    if microbit.button_b.was_pressed():
        converted_img = negative(img)
        converted_img.draw(win)

    if microbit.accelerometer.get_z() > 0:
        still_playing = False
4.2.1. Try This
implement a different image manipulation algorithm, and replace the negative function with your new function (in other words, your function should execute when the B button is pressed)
save more than one image file into the folder containing your Python code, and switch which image is being manipulated based on when the Micro:bit is tilted very far up, or very far down (on the y-axis).
4.3. Practice Problems
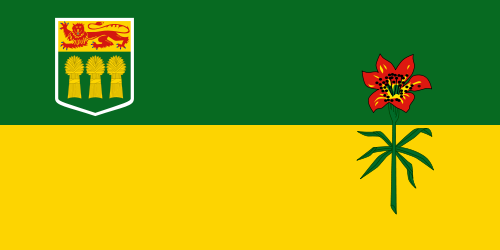
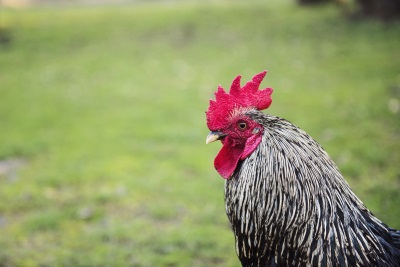
For the following problems, use one of these images:

skflag.png

moon.jpg

sneakers.jpg

rooster.jpg
4.3.1. Red Remover Function
Create a function called red_remover(original_image) that performs an image manipulation and returns the changed image. The function remove all of the red channel, but leave the green and blue amounts unchanged.
4.3.2. Your Choice
Look back at the last few sections, and pick 2 image manipulation practice problems. Convert these into functions, then control them with the Micro:bit. Call one of these functions when the A button is pressed, and the other function when the B button is pressed.