Micro:bit Reference
There are no official docs yet, but here is a short quick-reference to get you started. These following demo code is from the bito module readme file.
If you haven’t used the Micro:bit before, you will want to check out the Micro:bit Setup instructions at the bottom of this page.
Connecting to the micro:bit
# NOTE: Make sure bitio.hex is installed
import microbit
Scrolling text on the screen
import microbit
microbit.display.scroll("Hello")
Displaying a single character
import microbit
microbit.display.show("A")
Displaying numbers
import microbit
microbit.display.scroll(2345)
Displaying numbers using a 2-digit font
import microbit
import time
for n in range(99):
    microbit.display.show(n)
    time.sleep(0.25)
Getting a list of pre-defined images
The full list of pre-defined images is at the bottom of this page as well.
import microbit
print(microbit.Image.STD_IMAGE_NAMES)
Displaying a pre-defined image
import microbit
microbit.display.show(microbit.Image.HAPPY)
Spinning a clock
import microbit
import time
for c in microbit.Image.ALL_CLOCKS:
    microbit.display.show(c)
    time.sleep(0.25)
Defining a custom image
import microbit
BANANA = microbit.Image("00090:00090:00990:09900:99000")
microbit.display.show(BANANA)
Clearing the display
import microbit
microbit.display.clear()
Sensing when a pin is touched
import microbit
import time
while True:
    if microbit.pin0.is_touched():
        microbit.display.show("T")
        time.sleep(0.5)
        microbit.display.clear()
Reading accelerometer values
import microbit
import time
while True:
    print(microbit.accelerometer.get_values())
    time.sleep(0.25)
Sensing tilt in the X plane
import microbit
import time
while True:
    x = microbit.accelerometer.get_x()
    x = abs(x)
    if x > 200:
        print("Tilted")
    else:
        print("Not Tilted")
    time.sleep(0.5)
Reading the temperature
import microbit
import time
while True:
    print(microbit.temperature())
    microbit.sleep(0.5)
List of Pre-Defined Images
Image.HEART
Image.HEART_SMALL
Image.HAPPY
Image.SMILE
Image.SAD
Image.CONFUSED
Image.ANGRY
Image.ASLEEP
Image.SURPRISED
Image.SILLY
Image.FABULOUS
Image.MEH
Image.YES
Image.NO
Image.CLOCK12,Image.CLOCK11,Image.CLOCK10,Image.CLOCK9,Image.CLOCK8,Image.CLOCK7,Image.CLOCK6,Image.CLOCK5,Image.CLOCK4,Image.CLOCK3,Image.CLOCK2,Image.CLOCK1
Image.ARROW_N,Image.ARROW_NE,Image.ARROW_E,Image.ARROW_SE,Image.ARROW_S,Image.ARROW_SW,Image.ARROW_W,Image.ARROW_NW
Image.TRIANGLE
Image.TRIANGLE_LEFT
Image.CHESSBOARD
Image.DIAMOND
Image.DIAMOND_SMALL
Image.SQUARE
Image.SQUARE_SMALL
Image.RABBIT
Image.COW
Image.MUSIC_CROTCHET
Image.MUSIC_QUAVER
Image.MUSIC_QUAVERS
Image.PITCHFORK
Image.XMAS
Image.PACMAN
Image.TARGET
Image.TSHIRT
Image.ROLLERSKATE
Image.DUCK
Image.HOUSE
Image.TORTOISE
Image.BUTTERFLY
Image.STICKFIGURE
Image.GHOST
Image.SWORD
Image.GIRAFFE
Image.SKULL
Image.UMBRELLA
Image.SNAKE
Micro:bit Setup
Installing a Driver If Using Legacy Windows OS
The following only applies to users of Windows that are on a version earlier than Windows 10. If you are using Windows 10, Mac, or Linux, you can skip this step.
If you are on a Windows machine (< Windows 10), you will need to download the mbed driver if you want to use your Micro:bit as an input/output device. Note that you will need to have a Micro:bit plugged into your machine when installing the driver, and that it requires admin rights. If you want to simply run code on your Micro:bit, and not communicate with your computer, no driver is required for any platform (but this does really limit the types of interesting things that can be done, and none of the examples in the textbook will work).
Micro:bit Modes
Your Micro:bit can be used in two modes:
running “flashed” code, independent of a computer (can run on batteries, or through power supplied via the computers USB port)
communicating through the serial port with your computer as an input/output device
For the purposes of this textbook, we will always be using the Micro:bit as an input/output device by communicating over a USB connection.
Note
If you want to learn more about how to use the Micro:bit without it being hooked up to a computer, you can find out about how to do that on the Microbit website.
Flashing the Micro:bit
While your Micro:bit is connected to your computer via USB, it is possible to send instructions to the Micro:bit using serial commands. In order to do this, we first need to flash the Micro:bit with a micropython .hex file. This lets you use a BBC Micro:bit in Python to sense the physical world around you, and to output to LEDs (and much more, if you hook up additional sensors). You should only have to do this once, unless you flash the Micro:bit with a different .hex file in order to use it without being tethered to a computer.
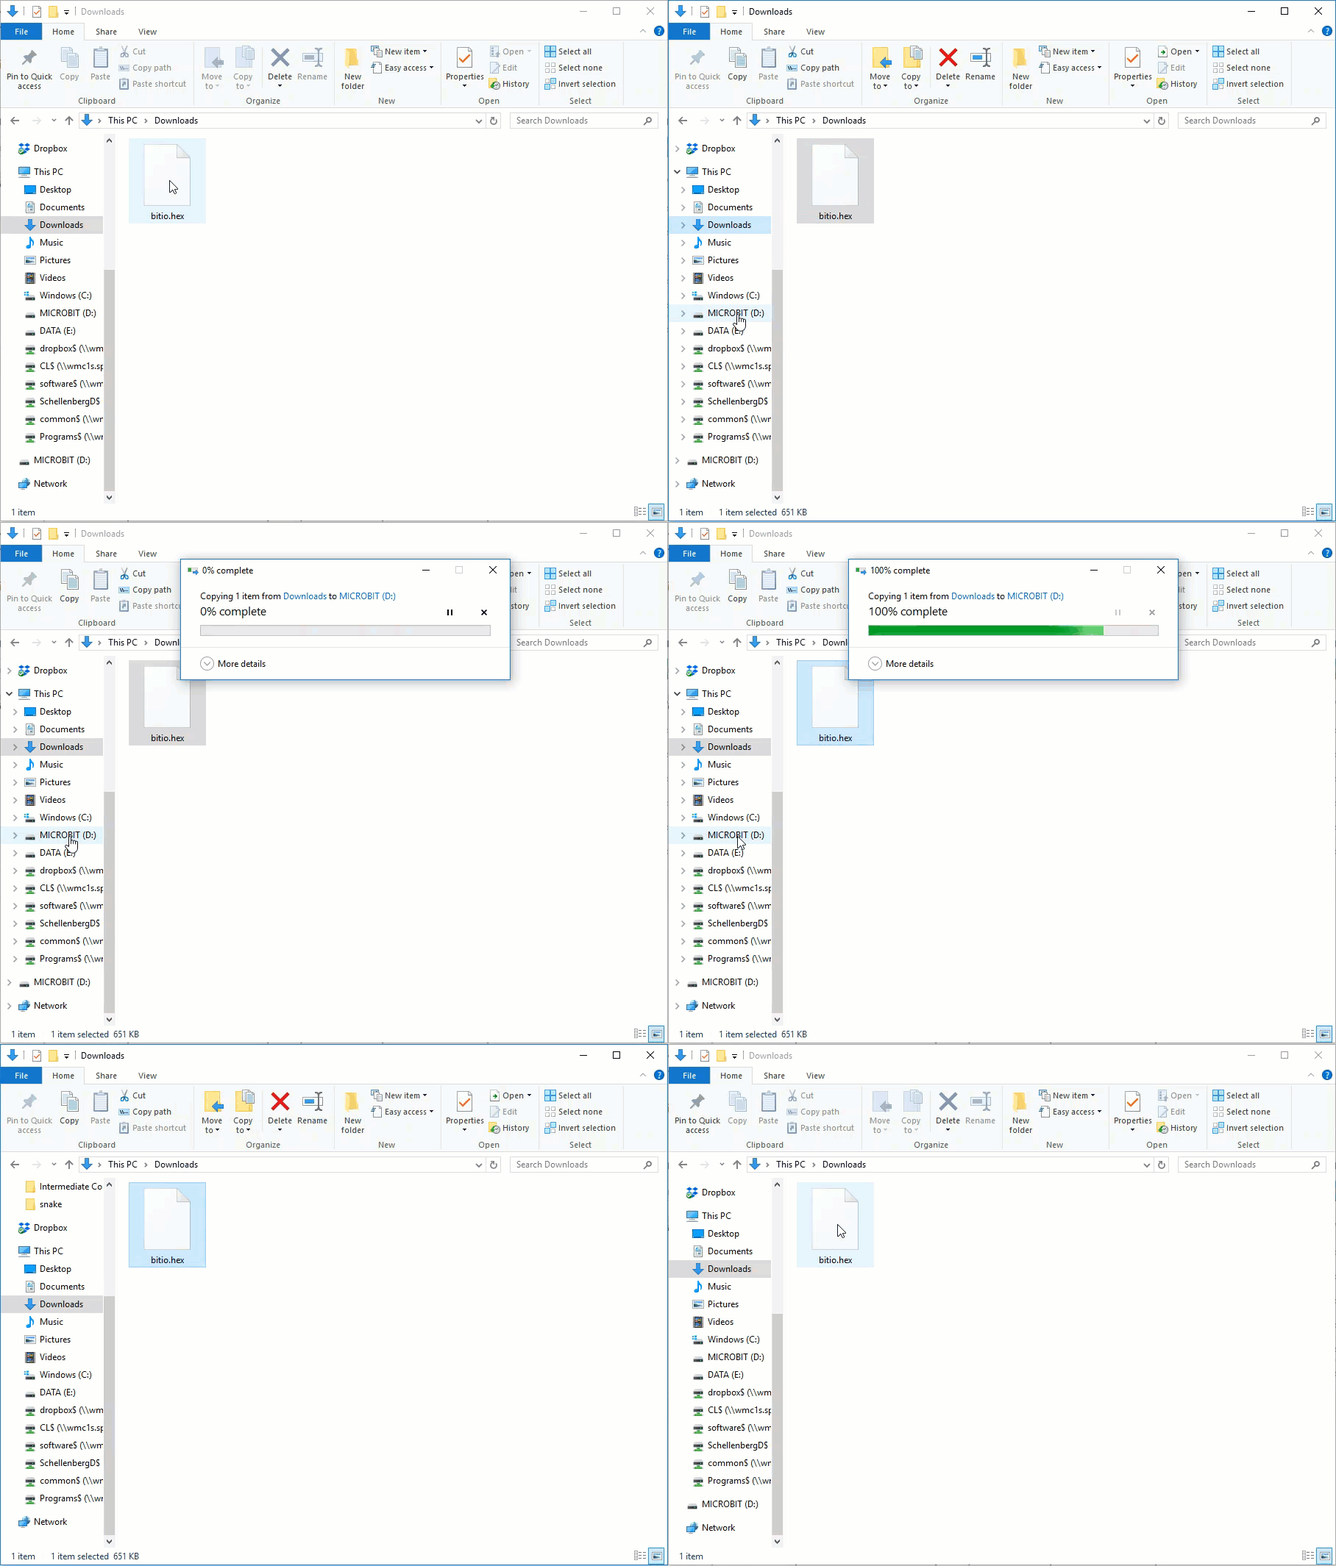
To flash your Micro:bit, first connect your Micro:bit to your computer via USB. Now download the bitio.hex file to your computer. Drag the .hex file onto your Micro:bit in the Windows Explorer (or Mac Finder), as shown below.

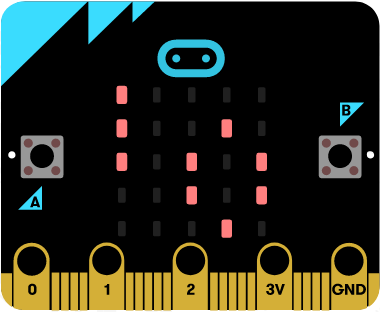
You should now see an I/O image on the LED grid of the Micro:bit, which tells you that your Micro:bit is ready to communicate with Python (though you still need to install a module in Thonny, as described below).

Note
The bitio.hex file is from the bitio package written by David Whale. This is the package we are about to install to communicate with the Micro:bit. Since the bitio package is not published on PIP, I (Dan Schellenberg) simply packaged it in a format that makes it easy to install via Thonny. Even though it is called cs20-microbitio, it is really just the bitio package.
Installing the Micro:bit Module in Thonny
In order to communicate with the microbit in Python, you need to install the cs20-microbitio package in Thonny. To do that, go to Tools → Manage packages…, type in cs20-microbitio into the search bar, and install. You only need to do this once, after which you should be able to use import microbit whenever you want to interact with the Micro:bit in Python.
Using the Micro:bit
Once you have done that, try running the code below:
import microbit

microbit.display.scroll("Hey there, CS20")
When you press Run, there will be a prompt in the console telling you to disconnect the Micro:bit, then press ENTER. Follow the prompts, which allow the bitio module to detect which device connected to your computer is the Micro:bit. The console will look something like this:
No micro:bit has previously been detectedScanning for serial portsremove device, then press ENTERscanning…found 132 device(s)plug in device, then press ENTERscanning…found 133 device(s)found 1 new deviceselected:/dev/tty.usbmodem1422Do you want this device to be remembered? (Y/N)Yconnecting…Your micro:bit has been detectedNow running your program
Once the connection is established, you should see the message scroll across the 5x5 LED grid on your Micro:bit.